
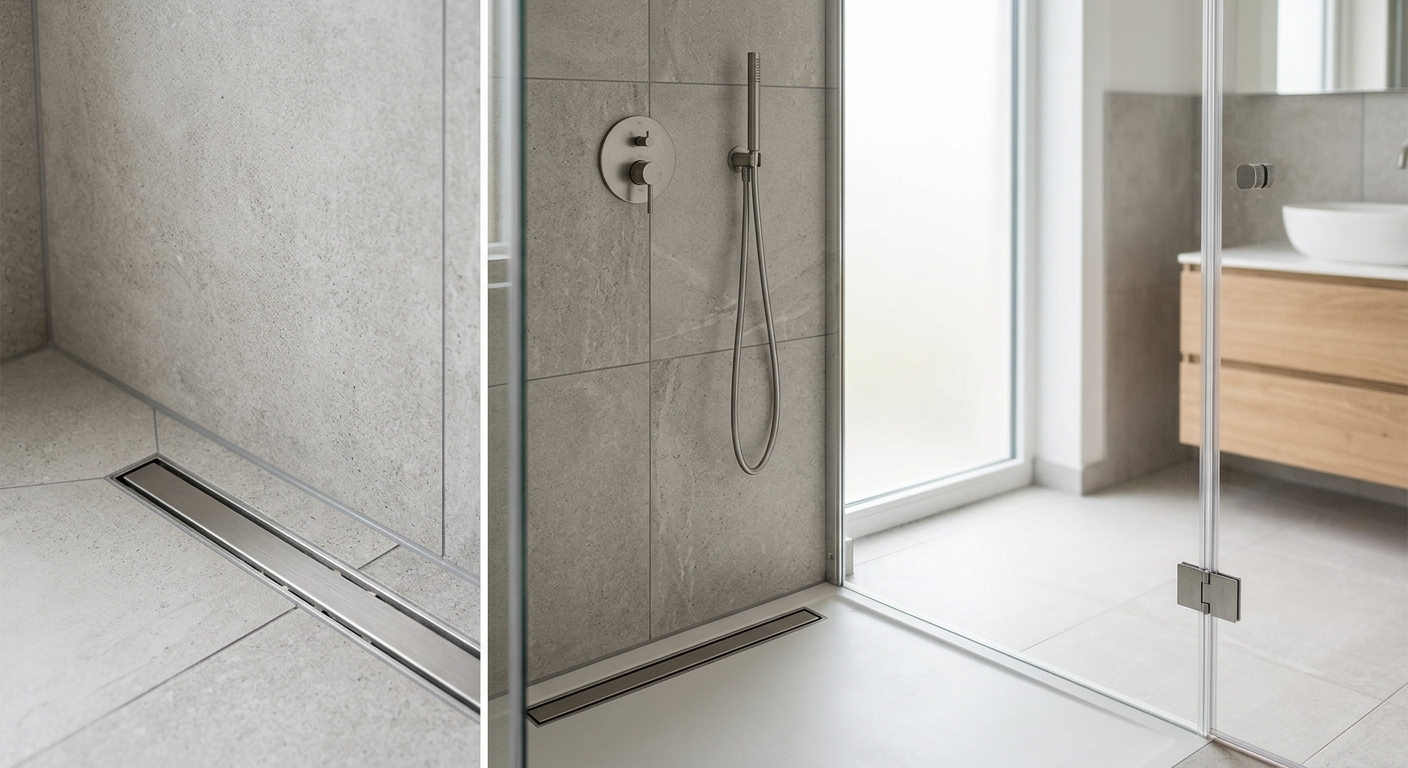
The fixture choices matter more than the tile in a small shower, because trim diameter, arm projection, and finish sheen control how much wall and ceiling the eye actually registers as open space. A 32×32 stall with 6-inch escutcheons and a standard-projection showerhead reads cramped no matter what’s on the walls. Swap in 4-inch trim, a low-profile arm, and a reflective finish, and the same footprint reads larger because there’s less hardware mass interrupting the sightlines.
Why Trim Diameter Changes Perceived Volume
Escutcheon plates are the visual anchor points in a shower. A 6-inch round plate at the valve and another at the showerhead arm create two large, flat discs that the eye catches immediately on entry. Drop to 4-inch plates and you cut the visible metal area by roughly 55 percent per plate, which matters because in a stall under 10 square feet, every fixed object reads as a larger percentage of the total wall.
This isn’t just aesthetic preference. Larger escutcheons are often sized to cover rough-in irregularities from older valve bodies, so a 6-inch plate sometimes signals an older or lower-tier valve behind the wall. Specifying 4-inch trim usually means specifying a valve platform built for tighter tolerances in the first place.
Low-Arm Showerheads vs Standard Projection
Standard shower arms project 6 to 8 inches from the wall and drop the showerhead center about 10 to 12 inches below the arm’s wall connection. In a small stall, that projection brings the head closer to the centerline of the room, which shortens the apparent depth of the space when viewed from the entry.
Low-profile arms, often paired with disc-style or slim rain heads, project 4 to 5 inches and keep the head tighter to the wall plane. The water path still clears the user; what changes is how much hardware intrudes into the open volume between the walls. Less intrusion into that volume is what reads as “bigger” even though the stall dimensions haven’t moved.
Linear Drains as a Width Illusion
A center drain forces a visual bullseye in the middle of the floor, and the eye measures distance to that point from every wall, which emphasizes how close the walls actually are. A linear drain, typically a 2 to 3 inch channel running the width or depth of the stall, shifts that visual anchor to one edge and lets the floor read as a single continuous plane.
The width of the channel matters for this effect. A 2-inch channel disappears into the tile joint pattern more easily; a 3-inch channel reads as a deliberate linear element and works better when it’s aligned with a floor tile’s long grout line rather than cutting across it. Either width outperforms a center drain for perceived floor area, but the orientation relative to tile layout is what makes the illusion work or fall flat.
Recessed Valves Over Surface-Mount Bodies
Surface-mount valve bodies sit proud of the finished wall by an inch or more, adding another object for the eye to register in a tight stall. Recessed thermostatic and pressure-balance valve bodies, by contrast, are designed to sit inside the wall cavity with a rough-in depth typically between 3.5 and 4 inches, leaving only the trim plate and control handle visible at the surface.
That shallow a rough-in is achievable in most 2×4 wall framing, which is why recessed valves have become standard spec on small-footprint renovations rather than a premium upgrade. When you’re comparing shower valves and trim for a small stall, check the rough-in depth before you check the finish. A valve body that doesn’t fit the wall cavity will force a surface-mount workaround regardless of how slim the trim looks in a catalog photo.
One practical note: recessed bodies require blocking and careful stub-out measurement before drywall, so this is a decision made at rough-in, not at trim-out. If the walls are already closed, retrofitting to a recessed valve means opening the wall, which changes the scope and cost of the job considerably.
Finish Sheen and Light Bounce
Polished chrome reflects light directly and reads as nearly transparent against light tile, especially under the kind of diffuse lighting most bathrooms use. In a small stall, that reflectivity means the trim plates and valve body don’t register as solid objects so much as bright points that blend into the wall’s light values.
Matte black does the opposite. It absorbs light and holds its shape as a dark silhouette against almost any background, which makes it a strong design statement but a poor choice if the goal is to minimize visual mass in a tight space. Brushed nickel sits in between: some light bounce, softer edges than polished chrome, more presence than a mirror finish but less than matte black.
None of this is an argument against matte black in small bathrooms. It’s an argument for knowing the tradeoff: a black valve and head in a 32×32 stall will look sharp, but it will also look like the dominant object in the room. If the brief is “make this feel bigger,” sheen does real work and should be chosen with that goal in mind, not just finish coordination with other bathroom hardware.
| Element | Smaller-feel choice | Larger-feel choice |
|---|---|---|
| Escutcheon diameter | 6 inch round | 4 inch round |
| Shower arm projection | 6 to 8 inch standard | 4 to 5 inch low-profile |
| Drain type | Center drain | 2 to 3 inch linear channel |
| Valve mounting | Surface-mount body | Recessed, 3.5 to 4 inch rough-in |
| Finish | Matte black | Polished chrome or light brushed nickel |
Specifying Hardware for 32×32 Stalls
At 32×32 inches, every fixture decision is a sightline decision, not just a function decision. The practical spec checklist for this footprint:
- Confirm valve rough-in depth against actual wall cavity depth before ordering, especially for recessed thermostatic models
- Choose 4-inch trim over 6-inch wherever the valve platform supports it
- Specify a low-profile arm with 4 to 5 inch projection rather than a standard 6 to 8 inch arm
- Orient a linear drain along the longest sightline from the entry, matched to tile grout lines where possible
- Default to polished chrome or a light reflective finish unless the design brief specifically calls for a dark accent
If the walls are still open, this is the moment to lock in valve placement and rough-in depth, since that decision becomes expensive to reverse later. If the walls are already closed and you’re working with existing surface-mount plumbing, focus the budget on trim diameter, arm profile, and finish instead, since those are the variables you can still change without demolition. For anything involving moving the valve body or converting to a recessed unit, bring in a licensed plumber to confirm the wall cavity can accommodate the new rough-in before any tile or valve is ordered.