
DIY Shower Panel Installation Guide: Step-by-Step Bathroom Upgrade
A wall-mounted shower panel can be a relatively direct bathroom upgrade when the unit is designed for exposed installation and the existing hot and cold supplies are compatible. The key is to verify the exact model first: bracket spacing, connection size, water pressure, wall construction, waterproofing, valve arrangement, and any electrical requirements can vary significantly between shower panels. This guide focuses on pre-plumbed or exposed wall-mounted panels—not concealed digital valves, new in-wall piping, or line-voltage work.
Know What Type of Shower Panel You Are Installing
Before drilling the first hole, identify whether the panel is a simple exposed retrofit or part of a more complex concealed shower system. Exposed shower panels often mount to wall brackets and connect to existing hot and cold supplies with flexible hoses, while concealed thermostatic or digital systems may require in-wall valves, dedicated rough-in dimensions, electrical coordination, or access panels. Hansgrohe’s exposed-installation guidance is a useful reference for understanding when an existing-connection upgrade is practical, while GROHE’s installation guide library shows why product-specific instructions should take precedence over generic installation advice.
Installation Planning: Panel, Rough-In, and Service Access
A successful installation begins with the relationship between the panel body, mounting brackets, hot and cold supplies, hand-shower connection, and the space needed behind the unit for hoses and future service.


Tools and Materials to Prepare
Use the manufacturer instructions as the final authority, but a typical exposed shower-panel installation may call for the following:
Measuring
Tape measure, pencil/marker, and a reliable level.
Fastening
Drill, correct tile/masonry bit, screwdriver, and model-approved anchors or structural fasteners.
Plumbing
Adjustable wrench, approved thread sealant or tape where specified, and towels for residual water.
Sealing
Bathroom-rated sealant only where the installation manual calls for sealing around penetrations or panel edges.
Pre-Installation Checks
Do not assume an existing shower connection automatically matches a new panel. Confirm the complete installation condition first.
Step-by-Step: Installing an Exposed Wall-Mounted Shower Panel
The sequence below is appropriate only when it matches the installation manual supplied with your exact shower panel.
Shut Off and Relieve the Water Supply
Close the relevant shutoff valves or main supply, then open the existing shower control to relieve pressure. Protect the shower floor and keep a towel or shallow container ready for residual water.
Remove Existing Trim and Inspect the Wall
Remove only the components required for the new panel. Inspect the finished wall, supply outlets, threads, and surrounding sealant. If the wall is cracked, loose, or already leaking, resolve that condition before continuing.
Dry-Fit the Panel and Establish Height
Hold the panel in its intended position and check user reach, showerhead clearance, hand-shower access, tub-spout clearance where applicable, and the route of the flexible supply hoses behind the panel.
Locate and Level the Mounting Brackets
Use the model-specific bracket spacing—not a generic dimension. Mark holes with a level and verify that the proposed drilling points do not intersect concealed water lines or electrical wiring.
Drill and Seal Wall Penetrations
Use a drill bit suitable for the wall finish and the specified fastener. Avoid hammer mode on brittle tile unless the tile/bit manufacturer permits it. Maintain the waterproofing strategy around penetrations and use only compatible sealants.
Secure the Brackets
Fasten the brackets to suitable backing or use the exact anchor method allowed by the product instructions and wall assembly. A heavy panel should not rely on unsuitable hollow-wall fasteners.
Connect Hot and Cold Supplies
Attach the panel’s flexible supply hoses without twisting, cross-threading, or reversing hot and cold. Use washers, O-rings, thread sealant, or tape only as specified by the fitting and manufacturer instructions.
Pressure-Test Before Final Hanging
Restore water carefully and inspect every accessible joint. Correct leaks before the panel covers the connections. This is also the time to confirm stable temperature control and adequate flow.
Hang and Secure the Panel
Place the panel onto the brackets exactly as shown by the manufacturer. Verify it is fully seated, level, stable, and not pinching the supply hoses or hand-shower connection behind the body.
Install Hand Shower and Accessories
Fit supplied washers, connect the hose, attach the hand shower, and install any shelf, tub spout, or accessory hardware that is part of the model.
Seal Only Where Required
Some panel designs require sealant around specific penetrations or edges; others need ventilation or service access behind the body. Follow the product detail rather than sealing every perimeter automatically.
Commission Every Function
Run rainfall, waterfall, body jets, hand shower, and tub spout individually. Verify diverter operation, temperature stability, drainage, hose clearance, and that no concealed joint begins to weep under operating pressure.
Installation Coordination Matrix
Use this matrix as a pre-flight check before you commit to drilling, plumbing connections, or final panel placement.
| Installation Item | Verify Before Work | Typical Failure if Missed | Who Should Review |
|---|---|---|---|
| Wall / Backing | Substrate, tile condition, anchor type, bracket loads | Loose panel, cracked tile, failed fasteners | Installer / contractor |
| Hot / Cold Supplies | Orientation, connection size, accessibility | Crossed temperature control, leaks, hose stress | Installer / plumber |
| Pressure | Model-specific minimum and maximum operating range | Weak jets, poor switching, unstable performance | Plumber |
| Mounting Height | User reach, top-head clearance, hand-shower location | Uncomfortable operation or poor spray geometry | Owner / installer |
| Waterproofing | Membrane continuity around new penetrations | Moisture damage behind tile or panel | Installer / waterproofing trade |
| Service Space | Room for hoses, fittings, valves, and removal | Kinked hoses or destructive future maintenance | Installer |
| Electrical Features | Any powered LED, digital, speaker, or controller requirements | Unsafe or noncompliant wet-area electrical work | Qualified electrician |
| Drainage | Combined flow of the functions that can run together | Ponding or inadequate drain performance | Plumber / contractor |
Manufacturer Installation Resources Worth Checking
Brand-specific instructions often reveal details that generic DIY tutorials miss: valve compatibility, rough-in depth, temperature limits, permitted connection methods, and model-specific service procedures. These official resources are useful even if you are installing a different brand because they show the level of technical verification a shower installation can require.
DIY or Call a Professional?
The simplest shower-panel replacements are exposed, pre-plumbed units mounted to a sound wall with compatible existing hot and cold supplies. Complexity rises quickly once the project changes the concealed valve, relocates plumbing, introduces digital/electrical components, or requires reconstruction of waterproofed wall assemblies.
Reasonable DIY Scope
Existing compatible supplies; exposed wall-mounted panel; manufacturer-specified bracket mounting; no hidden valve relocation; no new electrical work; intact wall waterproofing; installer is comfortable drilling tile and pressure-testing plumbing joints.
Professional Scope
Concealed thermostatic/digital valves; new in-wall piping; unknown leaks; supply-pressure problems; structural backing modifications; large tile/waterproofing repairs; powered components in the wet area; or any installation where local code requires licensed work.
Common Shower Panel Installation Mistakes
DIY Shower Panel Installation FAQ
Can a shower panel connect to existing shower plumbing?
Many exposed shower panels are designed for existing hot and cold wall connections, but the inlet size, spacing, pressure range, and connection method must match the specific model.
Do I need to open the wall to install a shower panel?
Not always. Some pre-plumbed exposed panels mount over finished walls and connect to existing supplies. Concealed valves, relocated plumbing, or digital systems can require wall access.
Can I mount a shower panel directly to tile?
The panel can sit over tile, but the brackets still need secure fastening appropriate to the wall assembly. Do not assume tile and generic plastic anchors are adequate for a heavy panel.
Should I use plumber’s tape on every connection?
No. Some threaded connections use sealant or tape; others seal with washers or O-rings and should not receive thread tape. Follow the fitting and manufacturer instructions.
How do I prevent leaks behind the panel?
Use the correct seals, avoid cross-threading, pressure-test every connection before final mounting, and protect waterproofing at new wall penetrations.
When should I stop the DIY installation?
Stop if you discover damaged plumbing, concealed leaks, incompatible valve connections, uncertain wall support, electrical requirements, or a need to alter in-wall piping or waterproofing beyond your competence.
Measure First, Connect Second, Commission Last
A shower panel can be a practical bathroom upgrade when the project stays within the limits of an exposed, pre-plumbed system. The installation becomes reliable when the panel is treated as plumbing equipment rather than wall decor: verify the model, inspect the wall, confirm pressure and connections, mount to suitable support, test every joint while it remains visible, and preserve waterproofing and future service access.
For additional model-specific examples, compare the official FontanaShowers wall-mounted panel installation guidance with BathSelect’s rainfall/body-jet panel instructions before adapting any generic installation sequence to your own product.
Shower Panel Installation — Retrofit, Wall-Mount & Setup Experiences
Shower panels can simplify a bathroom upgrade by combining rainfall, handheld and massage functions into a coordinated wall-mounted assembly. These customer experiences focus on installation, plumbing connection, mounting, component completeness and the finished result.
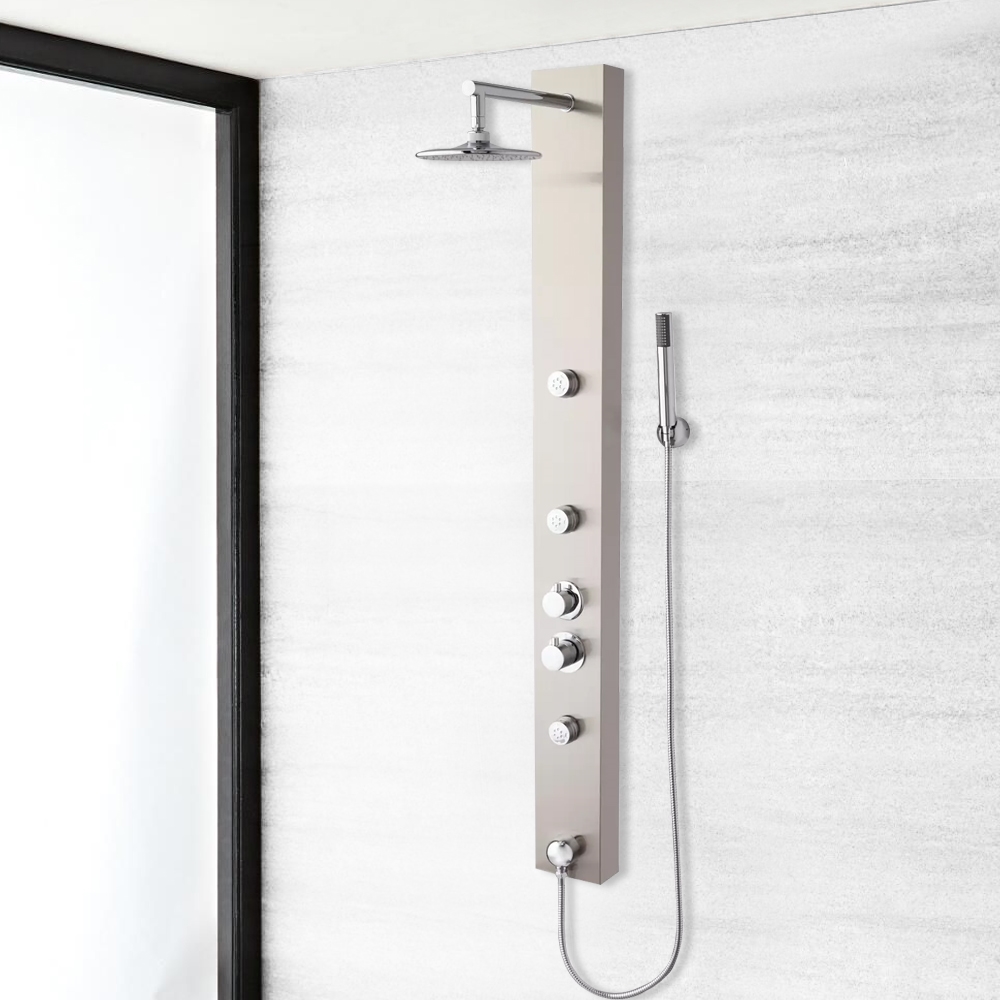
Fontana Thermostatic Shower Panel System
Straightforward Panel Setup
The stainless-steel panel matched the expected finish and performed well once installed. The integrated format kept the rainfall head, massage functions and handheld together in one wall-mounted assembly, making the completed bathroom feel much more organized.View Shower Panel →

Fontana Rainfall & Waterfall Shower Panel Tower
Efficient Wall-Mount Installation
The panel arrived ready for plumbing and installation, and the wall-mounted setup went together without complications. Once connected, the rainfall, waterfall and body-jet functions gave the bathroom a substantial upgrade, while the finish and overall construction looked excellent after mounting.View Shower Panel →
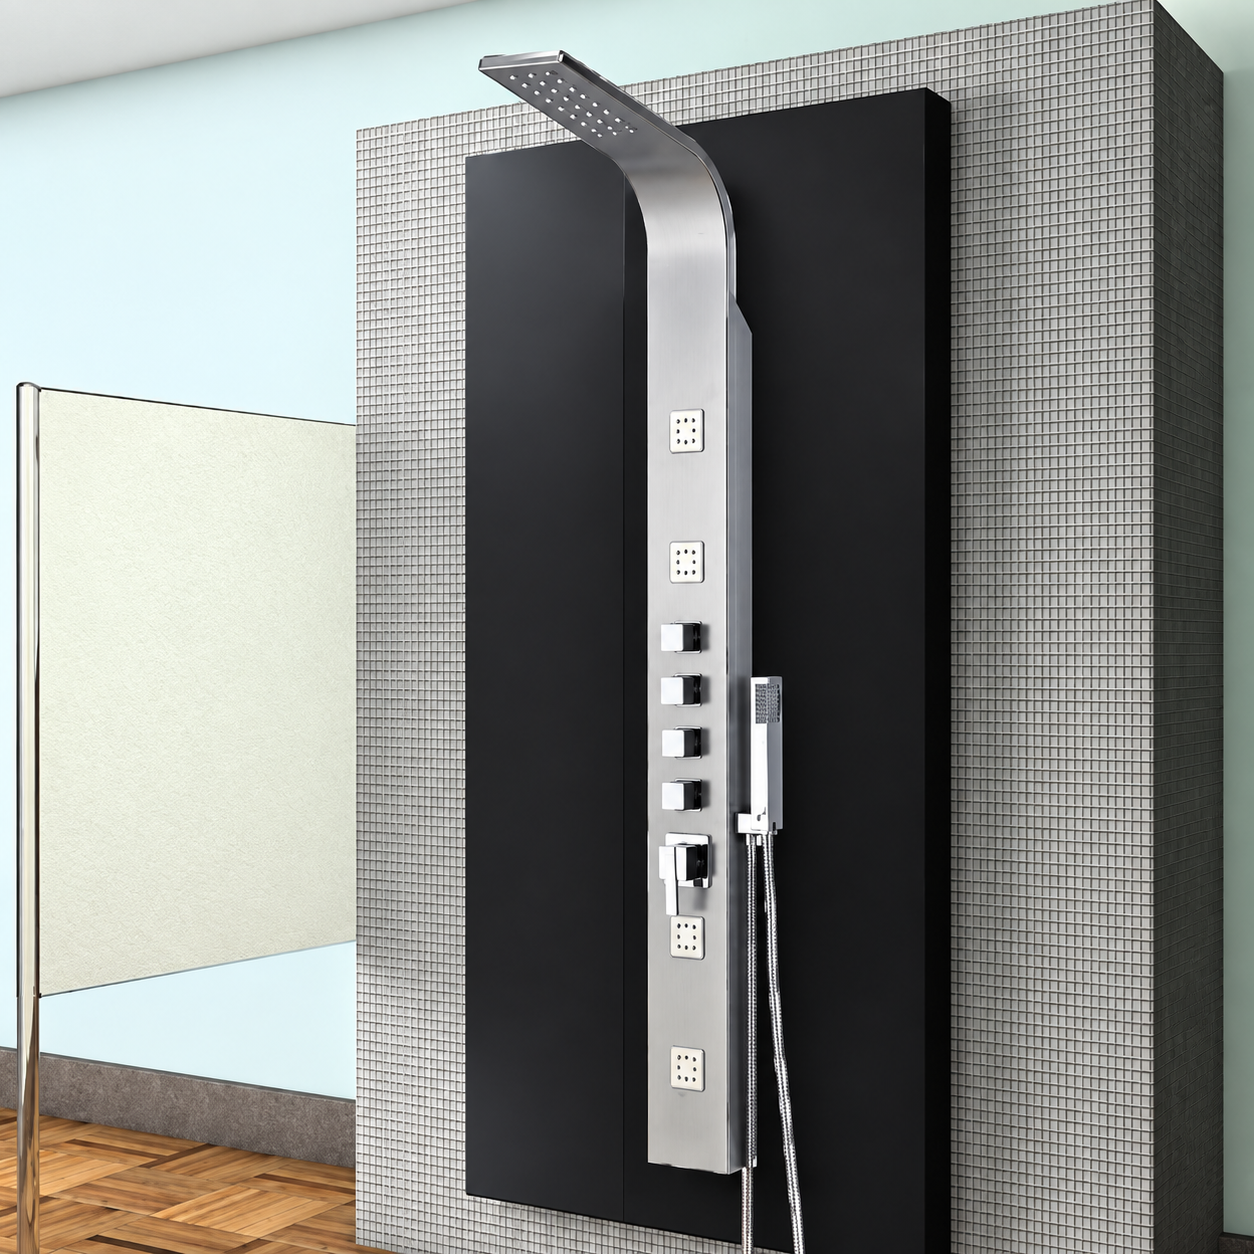
Fontana Thermostatic Massage Shower Panel
Complete Panel Transformation
After installation, the overhead shower, body-massage functions and thermostat all operated as expected. Bringing the functions together on a single panel made the upgrade feel worthwhile, and the finished installation gave the shower area a noticeably more complete appearance.View Shower Panel →
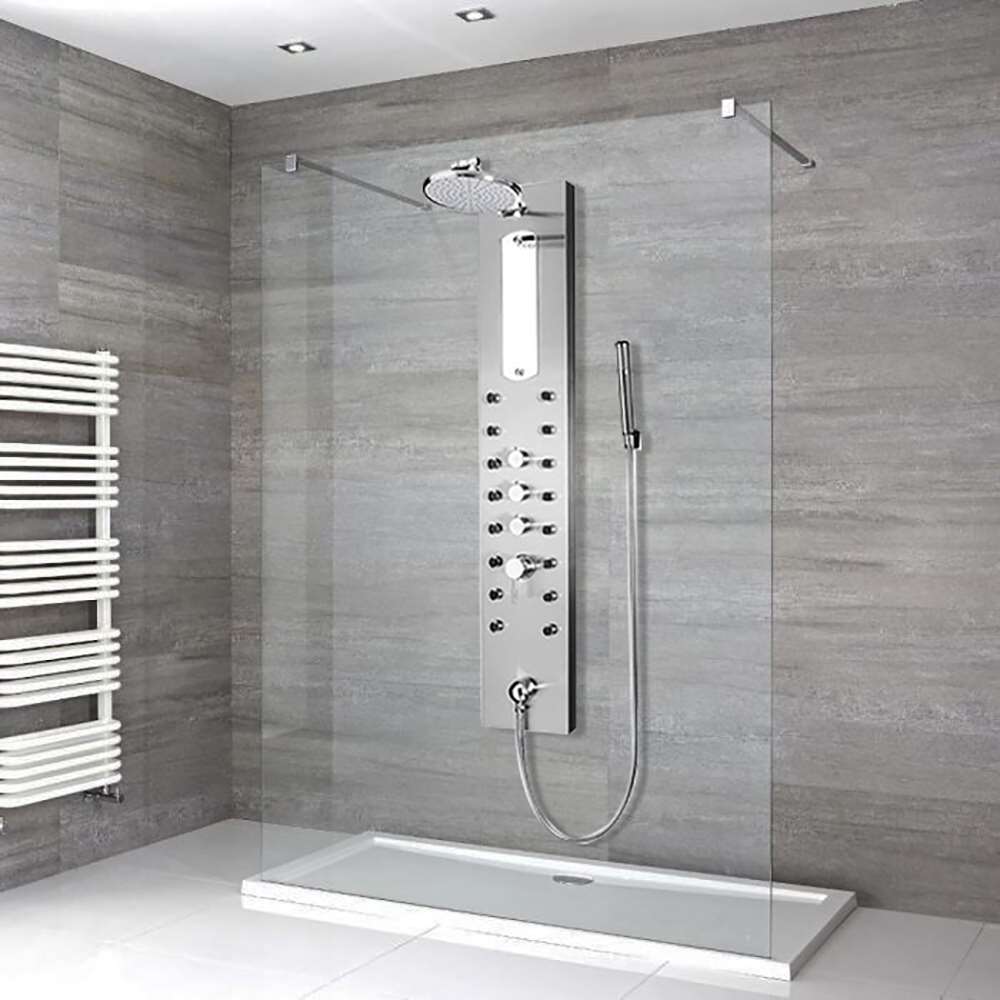
Fontana Reno Stainless Steel Rain & Massage Panel
Practical Retrofit Upgrade
The existing showers were functional, but the renovation called for a more contemporary setup. Moving to the integrated Reno panel modernized the bathrooms without relying on a collection of separate exposed fixtures, and the completed installations made a strong impression on guests.View Shower Panel →
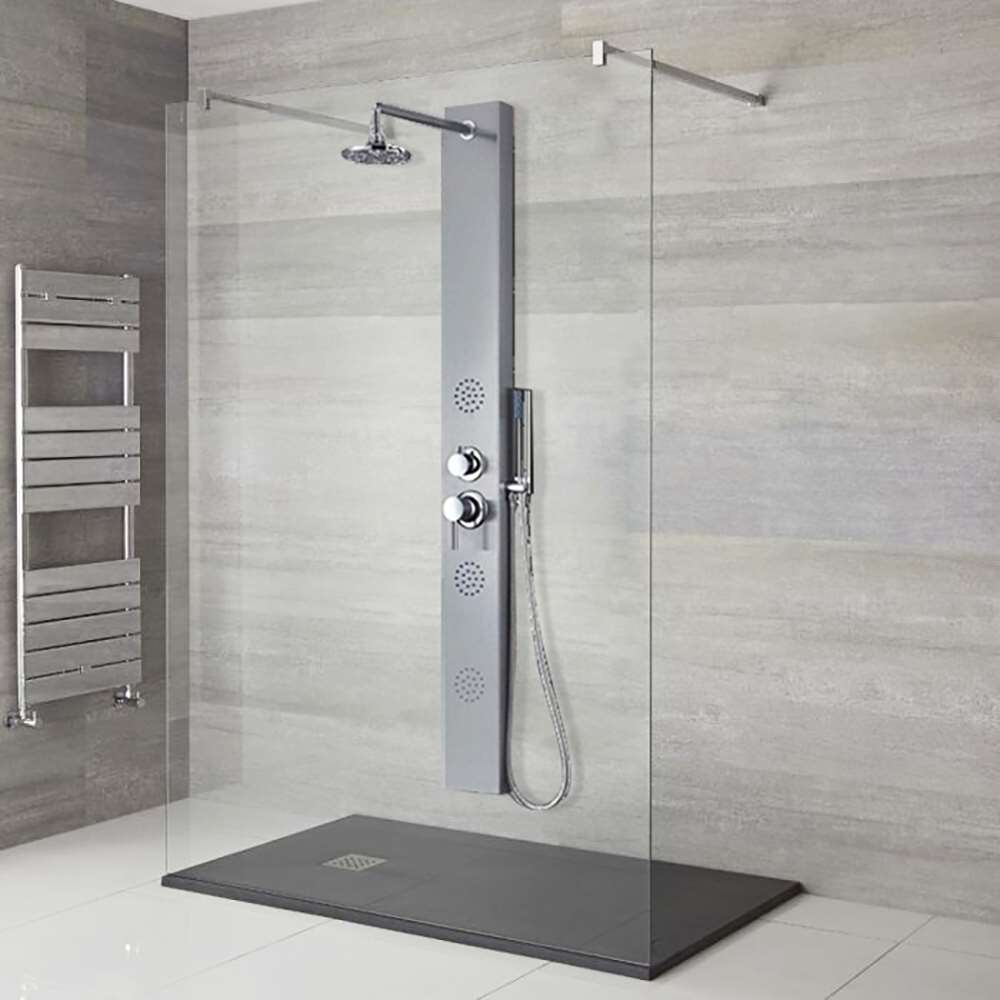
Fontana Renata Stainless Steel Shower Panel
Lightweight Installation Package
Installation was manageable because the panel was light and the required components were supplied with the unit. Once mounted and connected, the system presented a clean integrated appearance and operated properly, making it a practical choice for a straightforward bathroom upgrade.View Shower Panel →
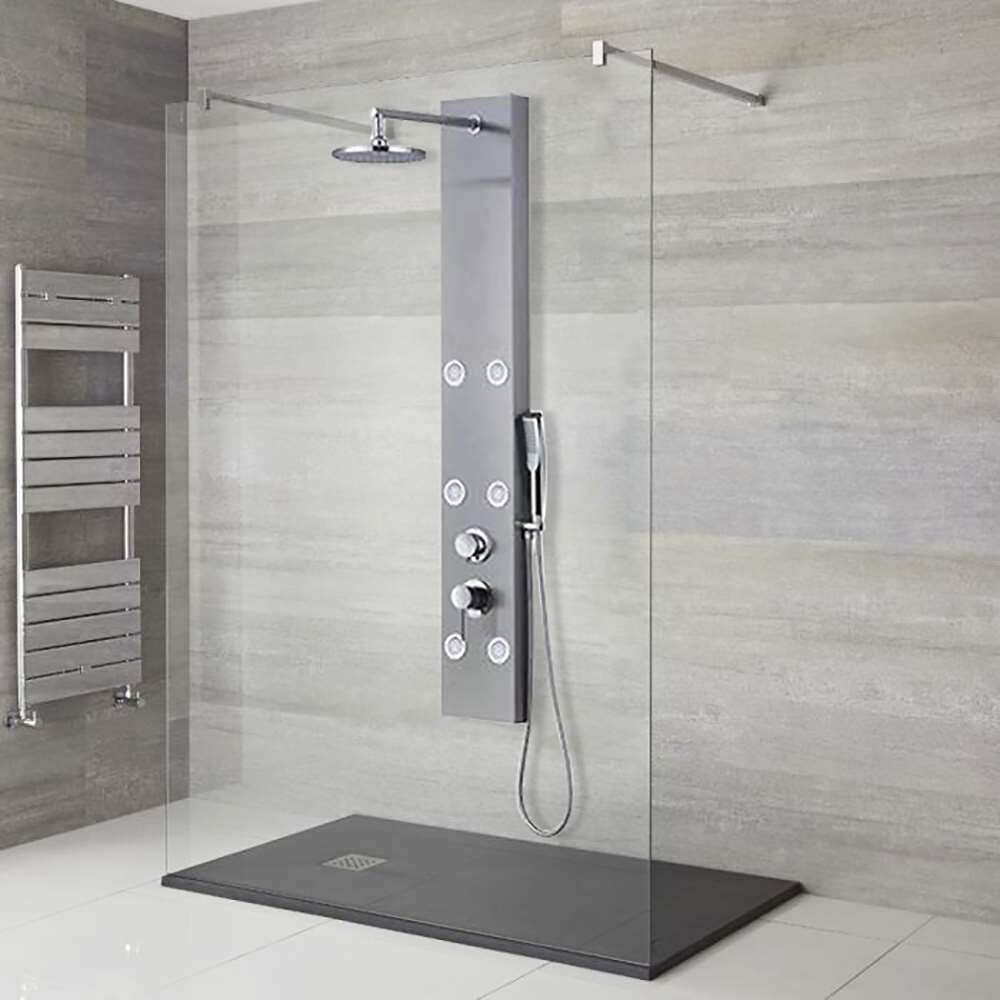
Fontana Piero Rainfall Shower Panel
Complete Shower Upgrade
The complete panel format offered an appealing way to update the shower in one coordinated package. After installation, the finish and functions gave the bathroom a more polished appearance, while the integrated layout kept the shower components visually organized.View Shower Panel →